Are you ready for your spring planting? The first step in any landscaping project is ALWAYS the bed preparation. Here in the south, with our red clay soil, it is IMPERATIVE! The instructions are slightly different if you are installing a new bed, versus an existing bed, as I am. I will give you both below.
Let me give you and overview of how I prepare my garden:

EXISTING BEDS:
1. Soil Amendments: I add 2-3" of the following to the top of my existing beds to amend them:
Compost- including manure from my chickens (this needs to cure over the winter to keep from being too strong and burning the plants. ) By spring, though, it is just right and ready to add.
Topsoil- I add some of this as well, to help with the structure of the soil.
Fertilizer- I add this to the planting pits when I am planting my new vegetables.
2. Tilling: I till all of my beds to the depth of the tines (about 8" depth) to make sure that the soil is loose and easy for plantings. Many professionals suggest 12" digging depth, and you would need to use a shovel to achieve this depth. I quite frankly don't have that kind of time, a tiller does fine for my purposes:)
3. Add Mulch: Add mulch to control weeds and retain moisture.
NEW PLANTING BEDS:
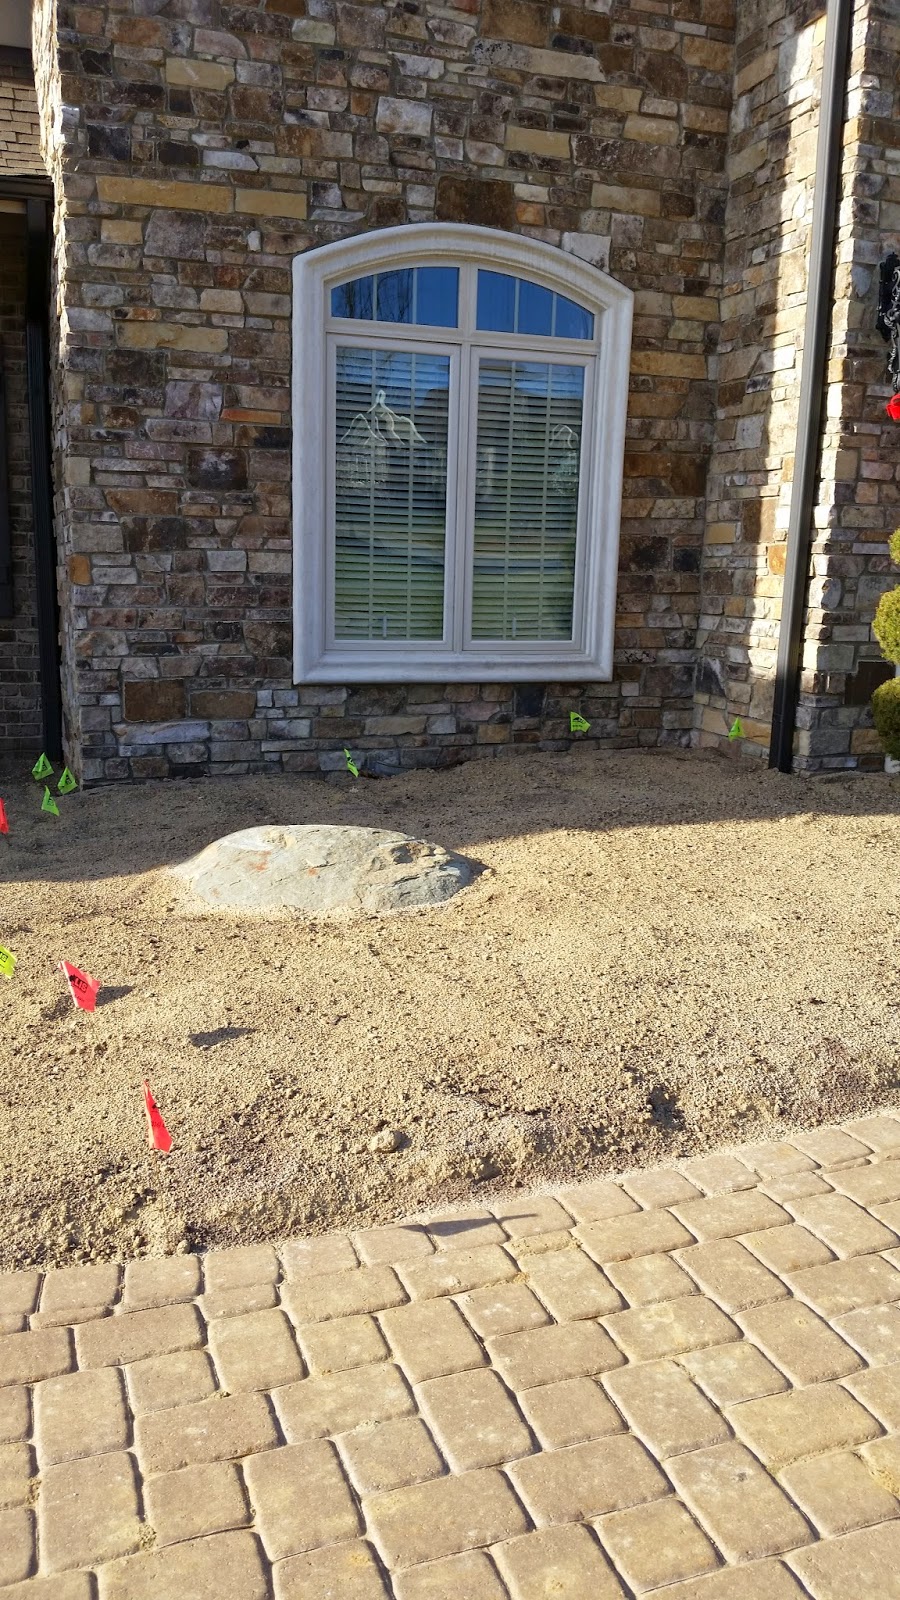
Rule #1- Have utility lines marked, so you do not expose or cut them when installing a new bed. In our area, we have a service that will come out and locate the utility lines for free. It is a shame that more people do not use it!
1. Define the shape of your bed: The first step will be to outline your bed and remove any existing vegetation. I use a garden hose and spray paint to draw out the beds. The vegetation can be removed manually, or by using Round-Up or another herbicide. Be sure to wait several weeks after spraying before doing any plantings if you use this method. Check the packaging of the herbicide you use for instructions. I have also read of an organic method using newspapers to kill the vegetation. I have not tried this method, but it requires more time to allow the vegetation to be removed. If you have the time, it is an eco-friendly way! Once the bed line is defined, use a flat spade to dig out a 'V trench' which will keep the grass from infringing on the bed line.
2. Till or Turn the Bed Over: You can use a shovel and manually, or a tiller to turn the soil over and make it more porous and pliable for plantings. It is suggested that you turn the soil over to a depth of 8-12", or even 18" if you have the energy!
3. Add Compost/Topsoil/Manure: Once you have turned the soil over, add 2-3" of compost, manure, topsoil mix and till that in as well. Once it is tilled, rake the area to even it out.
4. Add mulch until planting time: Once the soil is disturbed, weed seeds laying under the surface are exposed and germinate. Eliminate this by adding a top layer of mulch until you are ready for planting. Once you have planted, add another layer of mulch to keep weeds from springing up between your rows. The additional layer of mulch will also help retain moisture in the new garden bed.
An excellent, very technical and extensive article on bed preparation has been prepared by the NC State Cooperative Extension Service- you can see that article here:
http://content.ces.ncsu.edu/bed-preparation-and-fertilization-recommendations-for-bedding-plants-in-the-landscape.pdf
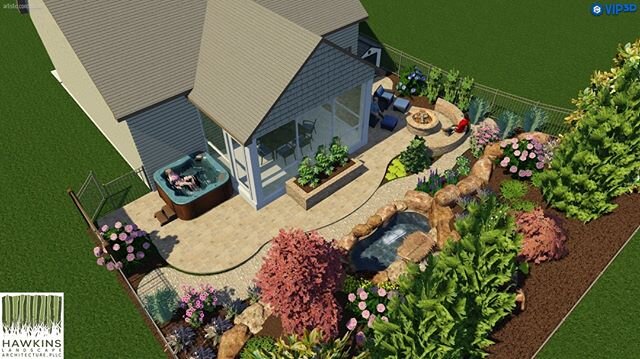
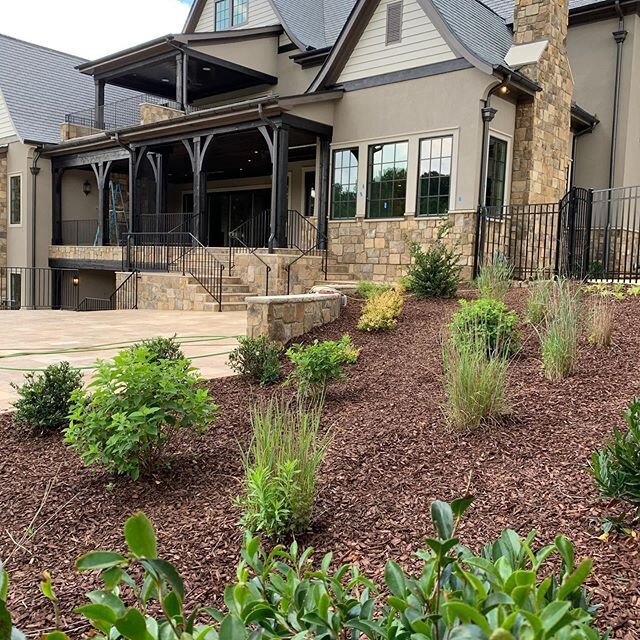
See more and follow me on INSTAGRAM!
About the Author:

Lori Hawkins, RLA, ASLA has been a registered landscape architect and active in the landscape design/build industry for over 30 years. Her service area includes Greensboro, High Point, Winston-Salem, Chapel Hill and the Raleigh NC metro areas. For additional inspiring project pictures, design ideas, or great garden gifts, take a look at these websites:
HOUZZ: http://www.houzz.com/pro/hawkinsla/__public
FACEBOOK: https://www.facebook.com/pages/Hawkins-Landscape-Architecture/107145146130?ref=hl
GARDEN ART AND GIFTS: WWW.TriadGarden.com
DESIGN WORK PORTFOLIO: WWW.HawkinsLA.com